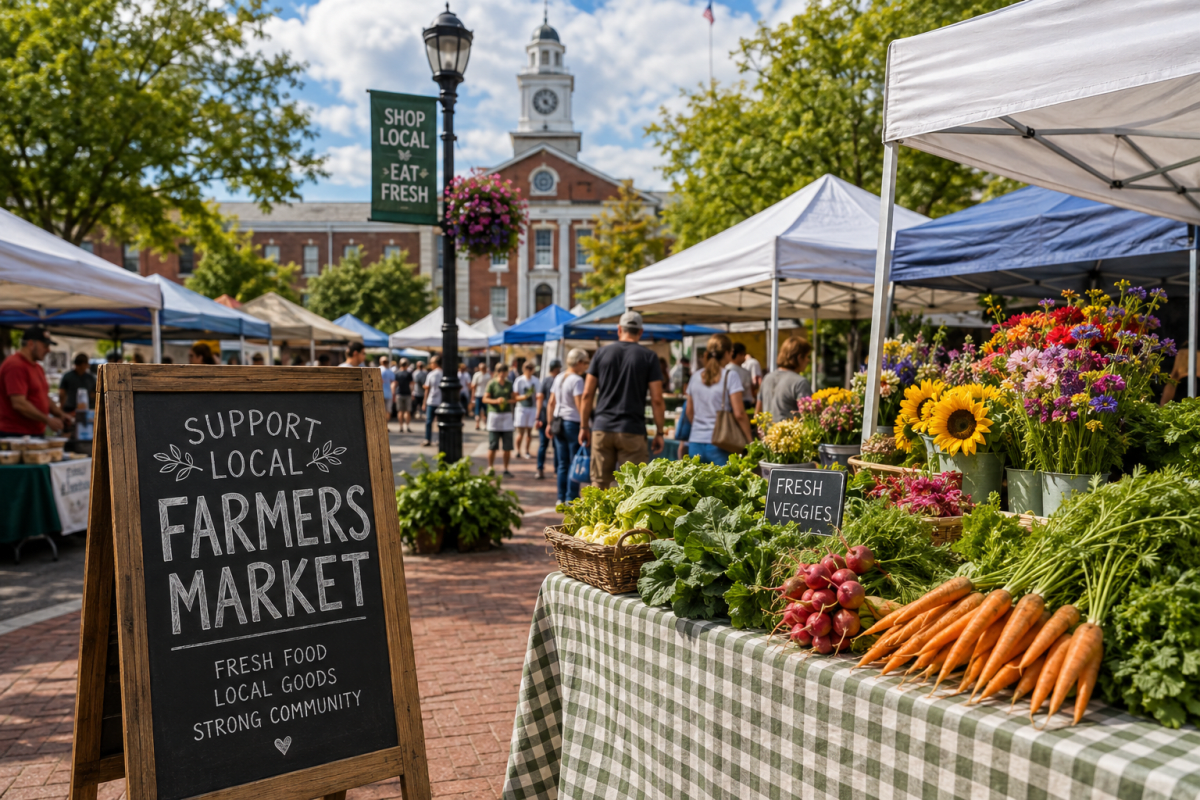
Learning how to host a farmers market can feel overwhelming at first. There's the location, permits, vendors, fees, and a hundred small event day details to figure out. But thousands of successful markets started exactly where you are now. This 2026 startup guide walks you through the whole process, step by step, so you can launch a market that vendors want to join and shoppers keep coming back to.
Whether you're starting a weekly farmers market, a seasonal craft fair, or a one time holiday pop up, the fundamentals are the same. Let's build it.
Step 1: Define your market's concept
Before anything else, decide what kind of market you're creating. A tight concept makes every later decision, from vendors to location to marketing, much easier.
- Type: farmers market, artisan or craft market, night market, holiday market, or a mix.
- Frequency: weekly, monthly, seasonal, or one time.
- Vendor mix: produce, makers and crafts, prepared food, or a curated blend. Many markets aim for roughly 60% food and produce and 40% crafts and goods, so shoppers come for essentials and stay to browse.
Write a one sentence description of your market. If you can't, keep refining until you can. That sentence becomes your pitch to vendors, sponsors, and the city.
Step 2: Find and secure a location
Location makes or breaks attendance. Look for visibility, foot traffic, parking, and space to grow.
- Good options: town squares, church or school lots, brewery patios, park pavilions, and downtown streets that can be closed for the day.
- What to confirm: capacity (how many 10 by 10 booths fit), restrooms, electricity and water access, and whether you can use it consistently on your chosen day.
- Get it in writing: a simple written agreement with the property owner or municipality covering dates, cost, insurance requirements, and setup and teardown windows.
Step 3: Handle permits, insurance, and legal basics
This varies by state and city, but nearly every market needs to check the same boxes. Don't skip it, because it protects you and your vendors.
- Business or market permit: many towns require a special event or market permit. Call your city clerk's office first.
- Liability insurance: most venues require the market to carry general liability coverage, commonly one to two million dollars. Vendors are frequently required to carry their own as well.
- Food and health rules: prepared food and cottage food vendors have their own state requirements. Decide upfront which you'll allow and what documentation you'll collect.
Build a short list of the documents you'll require from vendors, such as an insurance certificate, sales tax permit, and food license, so it stays consistent and fair.
Step 4: Recruit the right vendors
Your vendors are your market. Empty booths shrink your aisles and hurt the shopper experience. Aim to open with a full, varied lineup.
- Start with vendors you already know, then ask them for referrals.
- Scout other markets, craft fairs, and local maker groups.
- Curate for variety. You don't want ten candle makers and no produce.
For a complete playbook, see our guide on how to recruit vendors for your market.
Step 5: Set fair booth fees
Booth fees fund your market. Price them high enough to cover costs like location, insurance, marketing, and staff, but low enough that vendors profit and return. Common models include a flat per day fee, a season pass, or tiered pricing by booth size and location.
We break down the math with real examples in the complete guide to pricing your booth fees.
Step 6: Set up applications and payments
You need a simple way for vendors to apply, for you to approve them, and to collect booth fees, all without living in a spreadsheet or a chaotic Facebook thread. A dedicated platform lets vendors apply, upload their documents, pay their fee, and get automatically added to your roster.
This is exactly what Local Market was built for, and it's free for organizers. You can accept online card payments or mark cash and check payments, set custom application questions, schedule when applications open, and manage your whole vendor list in one place.
Step 7: Market your market
Even a great market needs shoppers. Start promoting three to four weeks out and don't stop.
- Local listings: get listed anywhere shoppers look for events, including a trusted marketplace directory rather than only a Facebook event.
- Social and email: post your vendor lineup, behind the scenes prep, and countdowns. Ask vendors to cross promote to their followers.
- Signage and press: banners near the venue, a note to the local paper, and flyers at nearby small businesses.
Step 8: Nail event day
Show up early, stay organized, and make vendors feel taken care of, because happy vendors are repeat vendors.
- Booth map: lay out your space in advance and assign each vendor a spot so setup is smooth and shoppers can find who they're looking for.
- Check in: track who has arrived and verify setup as vendors roll in.
- Be present: greet shoppers, solve problems fast, and note what to improve for next time.
Common first market mistakes to avoid
- Opening with too few vendors. A half empty market reads as a failing market. Delay a week if you must, but launch full.
- Underpricing booths. If you can't cover insurance and marketing, the market won't last.
- Relying only on a Facebook event. It's easy to impersonate, hard to manage, and offers no real vendor tools or protection.
- No rain plan. Decide your weather policy before your first event, and put it in your vendor terms.
Ready to launch your market?
Hosting a market has a lot of moving parts, but the payoff is worth it: a thriving local gathering that supports dozens of small businesses. Start with a clear concept, a solid location, and a full vendor lineup, and build from there.
When you're ready to take vendor applications and payments, create your market on Local Market for free. You'll get vendor applications, document collection, payments, a booth map, and event day check in, all in one place, with no fees to you.