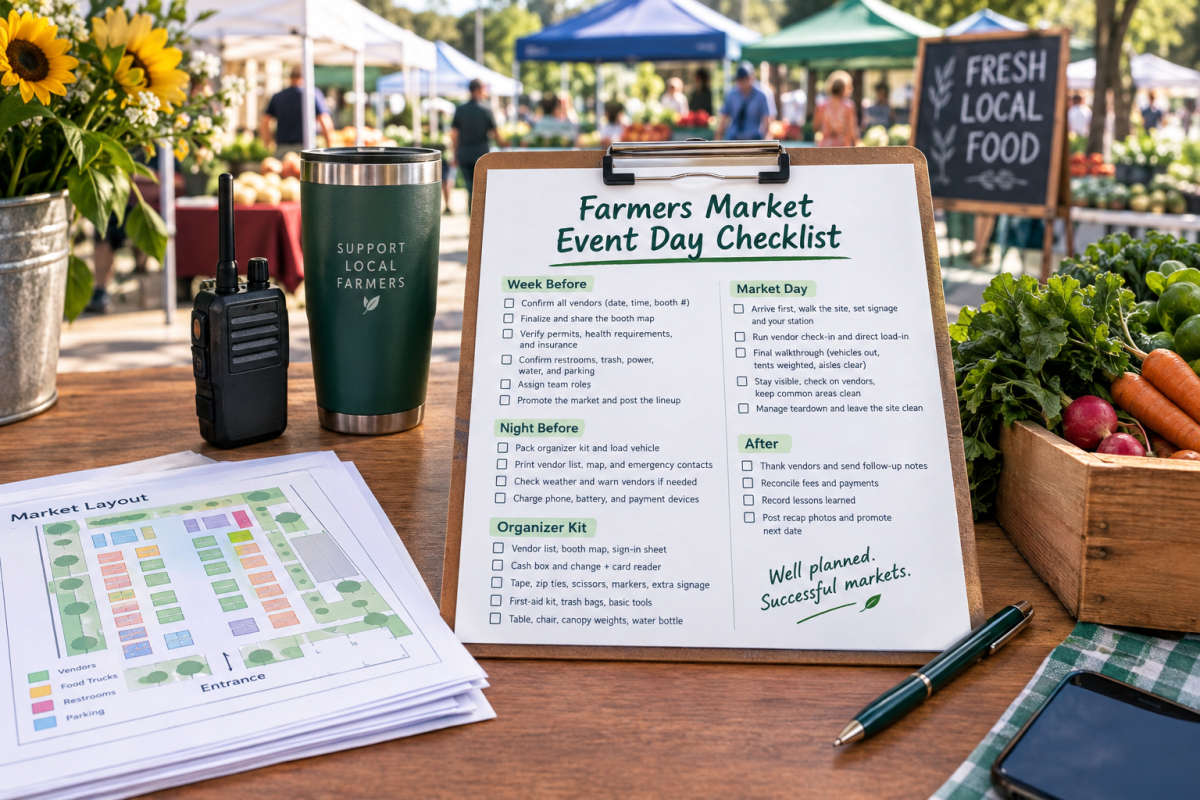
Market day runs on preparation, not luck. The organizers whose events feel calm and professional are not calmer people. They are working from a plan. This farmers market event day checklist gives you that plan, from the week before through teardown, so nothing important falls through the cracks while you are pulled in ten directions at once.
Use it as a repeatable system. Every strong market day looks roughly the same behind the scenes: vendors confirmed, layout locked, supplies packed, and a clear order of operations once you arrive. Once you run this checklist a few times, most of it becomes muscle memory.
The week before the market
The work that makes market day smooth almost always happens days earlier. Give yourself a full week so a missing permit or a no-show vendor is a small problem instead of a morning-of emergency.
- Confirm your vendor roster. Send a short confirmation message to every approved vendor with the date, arrival window, booth number, and load-in instructions. Ask them to reply to confirm. Silence is a red flag worth a follow-up call.
- Finalize the layout. Lock your booth map so every vendor knows exactly where they go. A clear map prevents the load-in traffic jam that eats your first hour. If you are still deciding on spacing and flow, our guide on how to host a farmers market walks through layout basics.
- Check permits and paperwork. Confirm your event permit, any health department requirements, and proof of insurance are current and on hand. Keep digital and printed copies.
- Confirm logistics. Restrooms, trash and recycling, power or generators, water access, and parking for both vendors and shoppers. Verify anything you are renting will actually arrive on time.
- Line up your team. Assign roles now: who directs load-in, who handles vendor check-in, who is the roaming problem-solver, who manages teardown. One person cannot do all of it well.
- Promote the market. Post the vendor lineup, share the date and hours, and remind your email list. A market with no shoppers is the fastest way to lose good vendors.
The night before
Do not save packing for the morning. A calm night-before routine buys you a stress-free start.
- Pack your organizer kit (see the checklist below) and load anything you can into your vehicle.
- Print the day's essentials: the final vendor list with booth numbers, the layout map, emergency contacts, and any sign-in sheet you use.
- Check the weather and send a short heads-up to vendors if wind, heat, or rain will affect setup. Remind them to weight their tents.
- Charge your phone, a backup battery, and anything you use to take payments.
- Confirm your own arrival time. You should be on site well before the first vendor.
Market day, hour by hour
Here is the order of operations that keeps a market day on the rails. Adjust the exact timing to your event, but keep the sequence.
Two hours before open: you arrive first
- Walk the site. Check for hazards, confirm the space matches your map, and mark booth spots if you have not already.
- Set up your organizer station or welcome table where vendors and shoppers can find you.
- Position signage: entrance, parking, and any road-facing signs that pull in foot traffic.
- Confirm restrooms, trash, and power are actually in place and working.
Ninety minutes before open: vendor check-in and load-in
- Run check-in from one clear spot. Greet each vendor, confirm their booth number, and check them off your list.
- Direct load-in traffic so vehicles do not block one another. Stagger arrivals if your space is tight.
- Handle the small fires calmly: a vendor in the wrong spot, a missing table, a last-minute swap. This is why you have a roaming problem-solver.
- Track no-shows. Know your plan for empty booths so the market does not look half-full.
Thirty minutes before open: final walkthrough
- Walk every aisle. Vehicles moved out, tents weighted, walkways clear.
- Confirm every vendor is ready and knows the exact open time.
- Do a quick safety scan: cords taped down, nothing blocking exits, no tripping hazards.
Opening and throughout the market
- Be visible. Walk the market regularly instead of sitting at one table. Vendors and shoppers should be able to find you fast.
- Check in with vendors, especially first-timers. A quick "how is it going" catches problems early.
- Keep the common areas clean and the restrooms stocked. Small details signal a well-run event.
- Capture the day. Take photos of a busy, happy market for next week's promotion and to show future vendors what they are joining.
Teardown and closing
How you end the day matters as much as how you start it. A clean, orderly teardown protects your relationship with the venue and your vendors.
- Announce the close clearly so vendors and shoppers know the market is wrapping up.
- Manage teardown traffic the same way you managed load-in, so it does not become a scrum.
- Leave the site cleaner than you found it. Walk it one last time for trash and left-behind items.
- Thank your vendors as they leave. A genuine thank-you is free and keeps good vendors coming back.
After the market: the follow-up that grows your event
The best organizers treat the hours after the market as part of the job. This is where a one-time event becomes a market vendors fight to get into.
- Send a short thank-you message to vendors within a day or two, with any relevant notes for next time.
- Reconcile booth fees and payments so your records stay clean.
- Jot down what worked and what did not while it is fresh. One paragraph now saves you an hour next time.
- Post recap photos and start promoting the next date while attendance is on people's minds.
- Follow up with any vendors you want back, and keep working your vendor recruiting pipeline for open spots.
The printable farmers market event day checklist
Here is the short version to keep on your clipboard. Copy it, adjust it to your event, and run it every market day.
Week before
- Confirm every vendor (date, time, booth number)
- Finalize and share the booth map
- Verify permits, health requirements, and insurance
- Confirm restrooms, trash, power, water, and parking
- Assign team roles
- Promote the market and post the lineup
Night before
- Pack the organizer kit and load the vehicle
- Print vendor list, map, and emergency contacts
- Check weather and warn vendors if needed
- Charge phone, battery, and payment devices
Organizer kit to pack
- Printed vendor list, booth map, and sign-in sheet
- Cash box and change, plus a way to take card payments
- Tape, zip ties, scissors, markers, and extra signage
- First-aid kit, trash bags, and basic tools
- Table, chair, canopy weights, and a water bottle for yourself
Market day
- Arrive first, walk the site, set signage and your station
- Run vendor check-in and direct load-in
- Final walkthrough: vehicles out, tents weighted, aisles clear
- Stay visible, check on vendors, keep common areas clean
- Manage teardown and leave the site clean
After
- Thank vendors and send follow-up notes
- Reconcile fees and payments
- Record lessons learned
- Post recap photos and promote the next date
Run your whole market day from one place
A checklist keeps you organized. The right platform keeps you from needing half of it. With Local Market, your vendor roster, booth map, applications, and booth-fee payments live in one dashboard, so check-in is a glance at your phone instead of a stack of paper. If you are setting your pricing at the same time, our guide on pricing your booth fees pairs well with this checklist.
Ready to run a smoother market day? Host your market on Local Market for free and manage vendors, applications, and payments in one place.